-40%
American Flyer 4-step reverse unit (E-unit) "Improvement Kit"
$ 3.16
- Description
- Size Guide
Description
2021Mar30 -- I am TOP RATED on this marketplace with a current 12-month FEEDBACK rating of 100%, and I offer Combined Shipping. See my last 2 pics for my eBay Seller Level and eBay Feedback.For shipping I have specified a handling time of 10 business days.
I have for sale 2 small items which can dramatically improve the performance of your balky American Flyer 4-step reverse units. (Also called E-units, which I don't understand 'cause there's nothing "E" about them.)
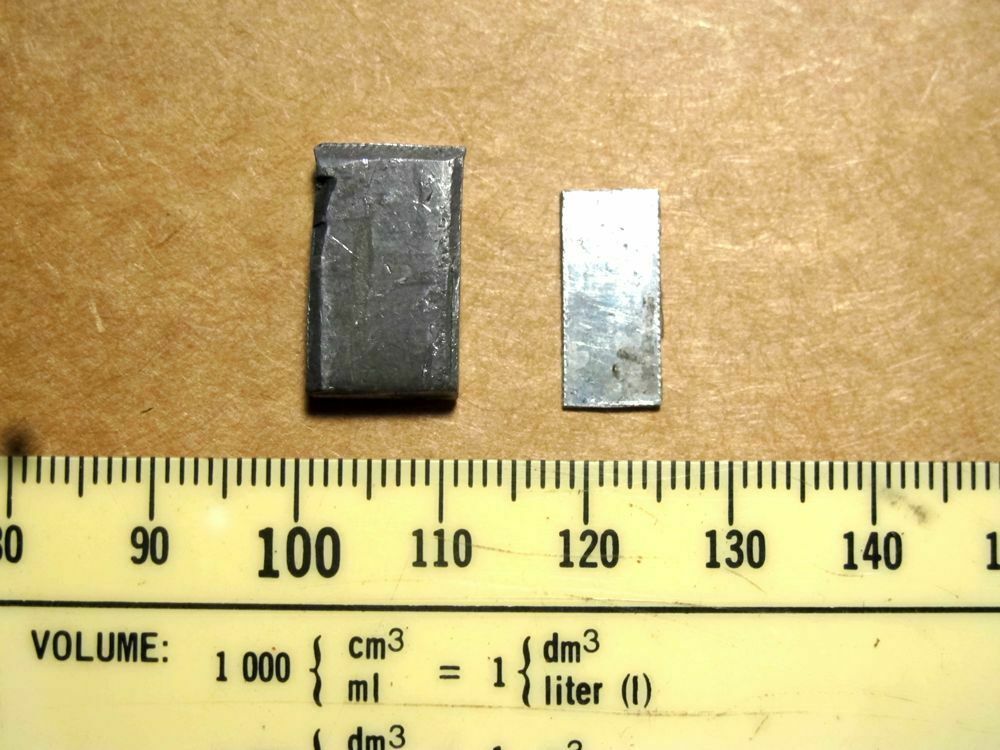
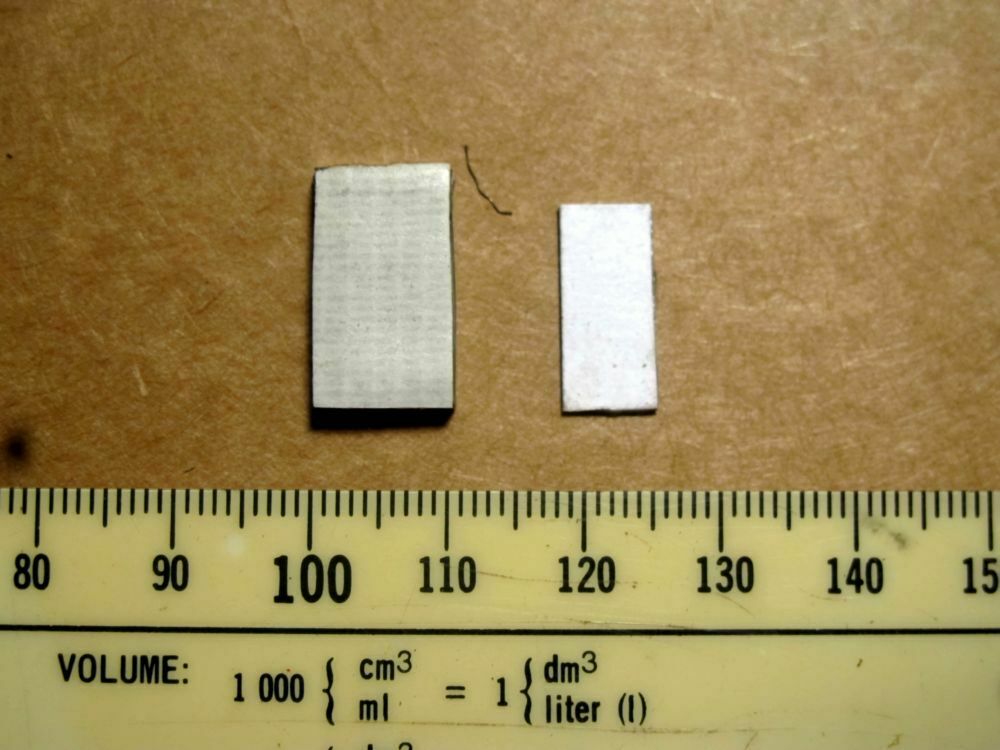
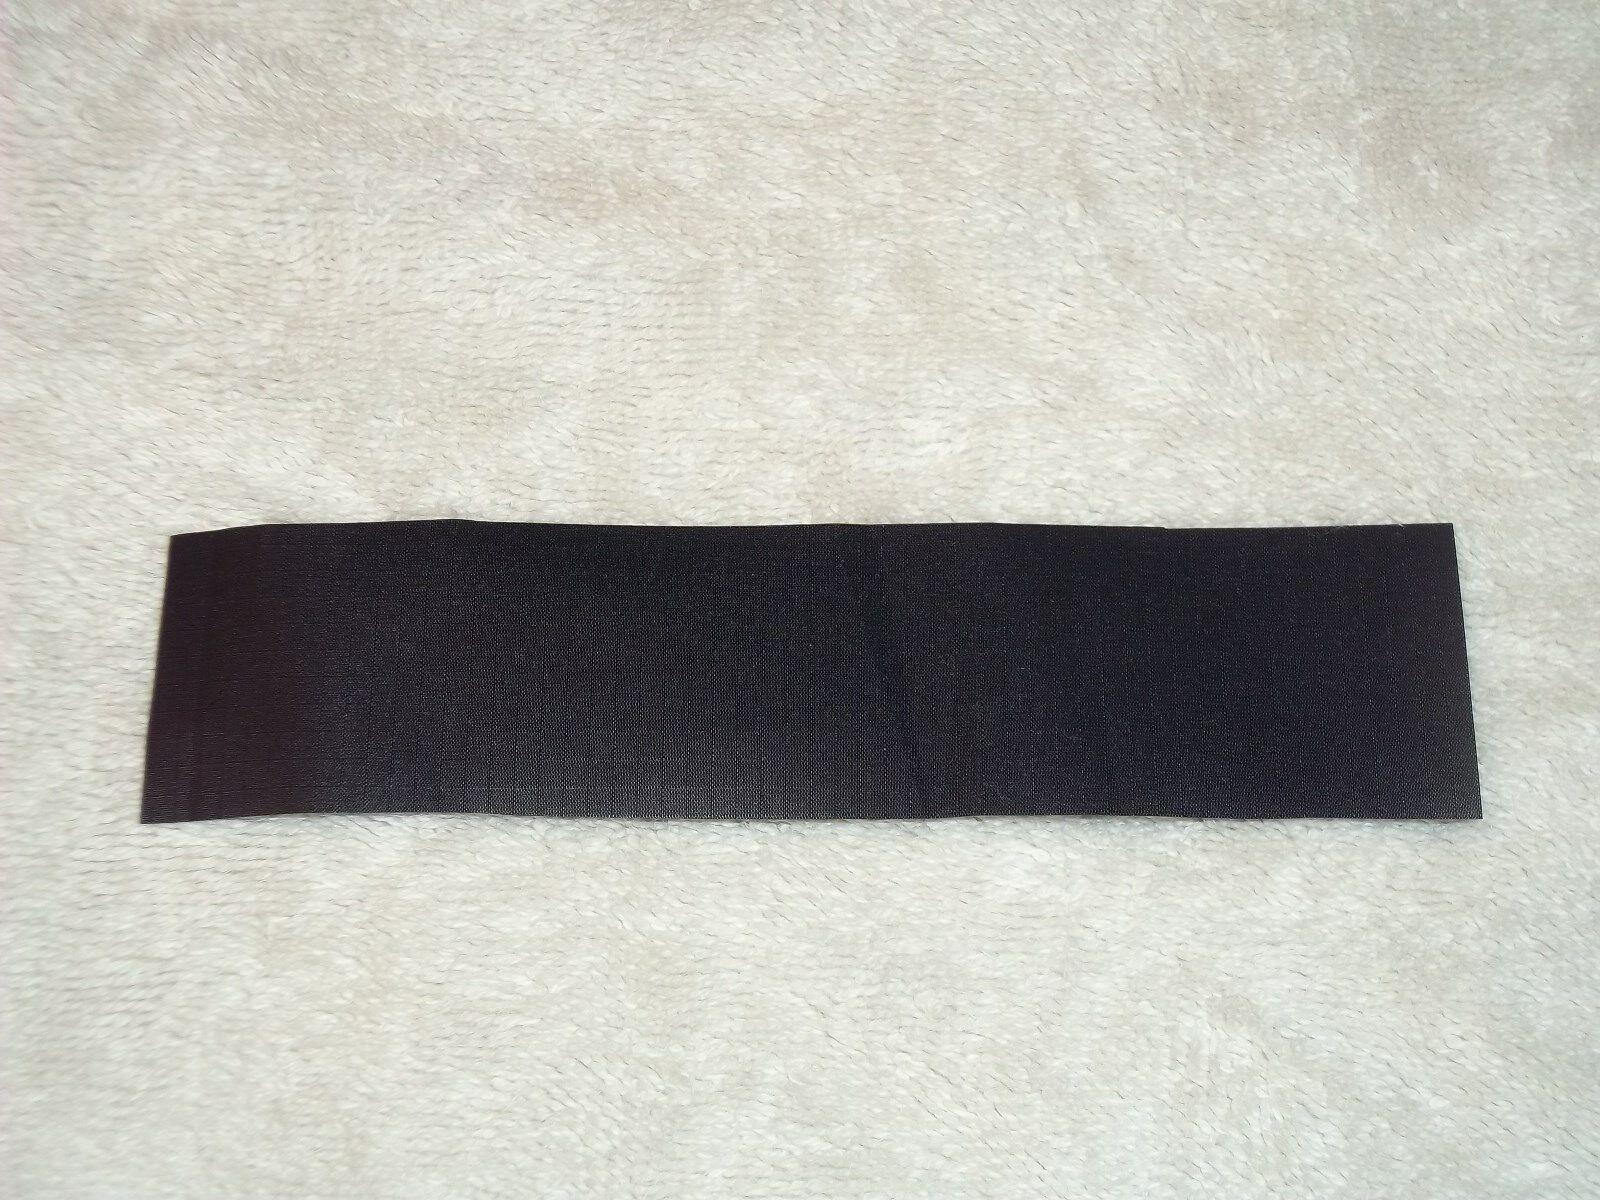
The items simply consist of a piece of sheet lead 11mm x 17mm x 1.6mm and a piece of thin sheet steel 7mm x 15mm. The lead has a piece of double-sticky tape on one side and the steel has a piece of paper glued on one side.
Here are the 3 common problems I encounter on reverse units, assuming that the solenoid coil is OK and the armature and drum move freely ...
1. The armature won't pull up until the solenoid applied voltage is quite high. Then the engine abruptly jumps into motion.
2. The armature won't drop down when the solenoid applied voltage is cut off. This can be because the basic AF armature really isn't quite heavy enough.
3.
The armature won't drop down when the solenoid applied voltage is cut off. This can be because the armature is "sticking" to the solenoid coil. I'm not exactly sure why it's "sticking" (magnetic or adhesive), but it does.
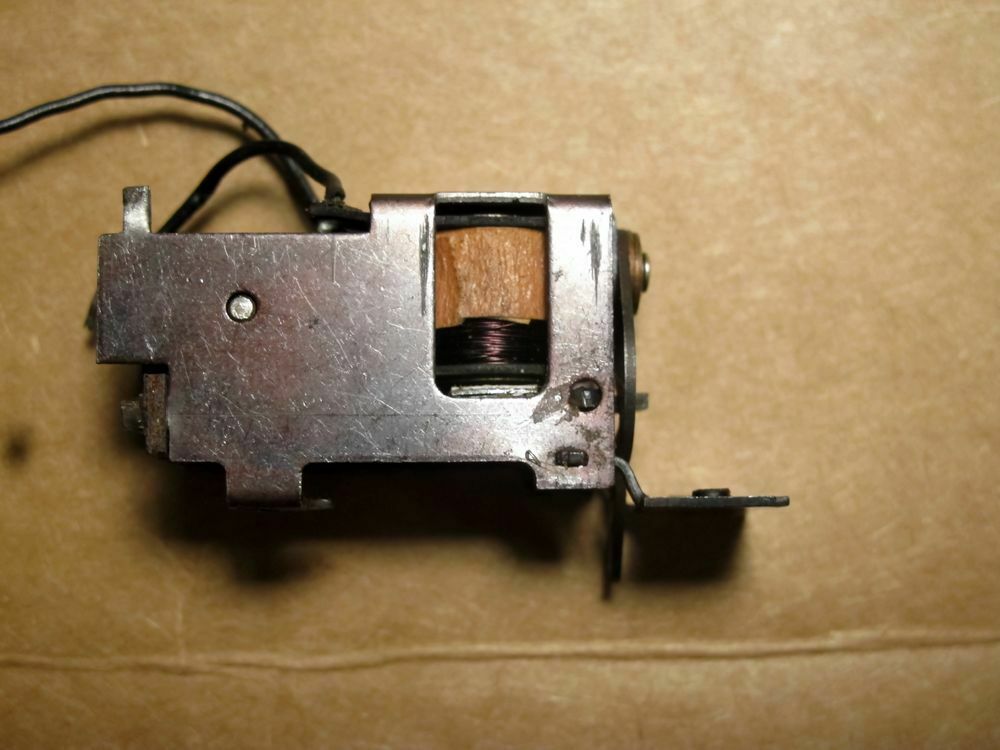
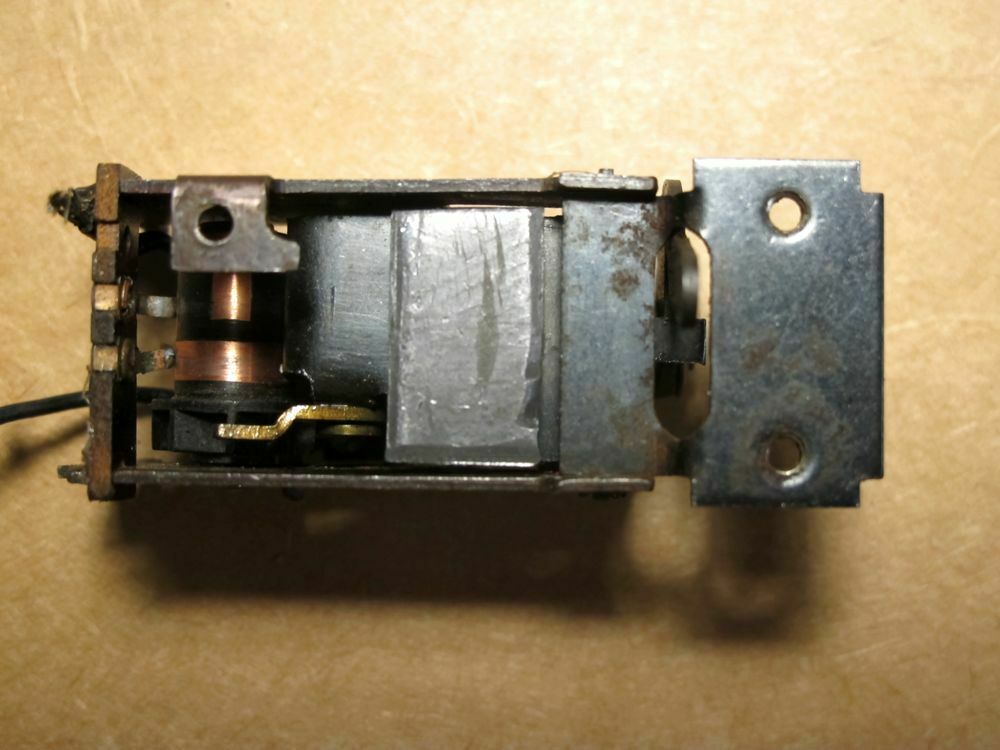
To fix problem 1. you apply the thin sheet steel to the top of the armature, between the armature and the solenoid coil, paper side up. In pic #3 you can see the shiny end of the steel just below the solenoid coil. This works because the steel adds more magnetic mass to the armature and puts that mass closer to the solenoid coil, thus increasing the pull-up force. You have to use some kind of gap-filling glue (I use E6000). Double-sticky tape won't work because there is a rivet slightly sticking up in the middle of the armature.
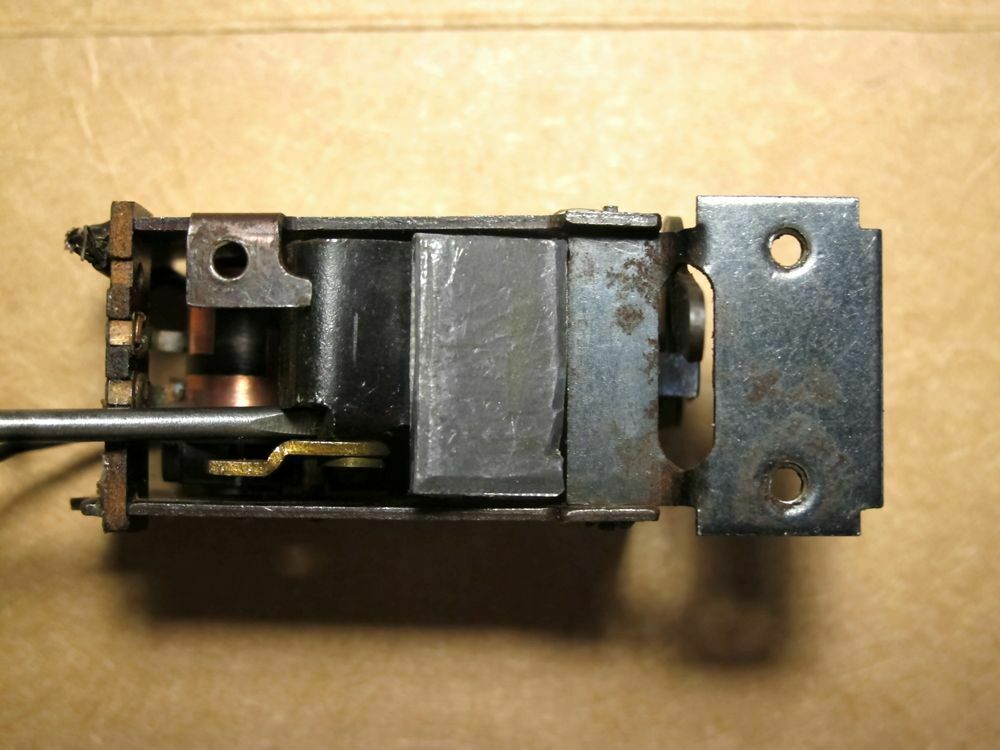
To fix problem 2 you apply the lead weight to the bottom of the armature, as in pic #4. You can use the applied double-sticky tape or you can remove the tape and glue on the lead weight. For both cases make sure the armature is clean and oil-free. Be sure the armature is in its drop-down position, as in pic #4, so that the lead weight won't bind against the reverse unit frame. In pic #5 you can see the proper gap when the armature is in its pull-up position.
To fix problem 3 you've already done that with fix 1. I'm not sure why the paper prevents "sticking", but it does.
The reverse unit in the pics is one that I had tagged as "Weak" because it wouldn't pull up until about 12 volts or so -- not acceptable. Now it pulls up almost as soon as the voltage source transformer comes on, about 7 volts.
The lead weight can be no wider than 11mm or it will bottom out on the engine or tender frame, preventing full movement of the armature.
This "Improvement Kit" has worked fine for me, but I cannot guarantee your results. Too many other variables, such as the state of your reverse unit or how well you install the kit.
I recently received a reverse unit in somewhat poor condition. Rehabilitated it, used existing fingers, and installed one of my kits.
I just made a video of it in operation. Here's the link to the video ...
https://drive.google.com/file/d/1mYpUzXp0MKdXg2RX2gwmql2QjUYt_IMe/view?usp=sharing
Note the consistent operation, even at 8 volts, about as low as my transformer goes. You really can't get a reverse unit to operate better than this.
Finally, yeah you could make this yourself instead of buying from me. But, I have a stock of sheet lead and you probably don't. The smallest piece of sheet lead, 6" x 6", that you can buy is around .
